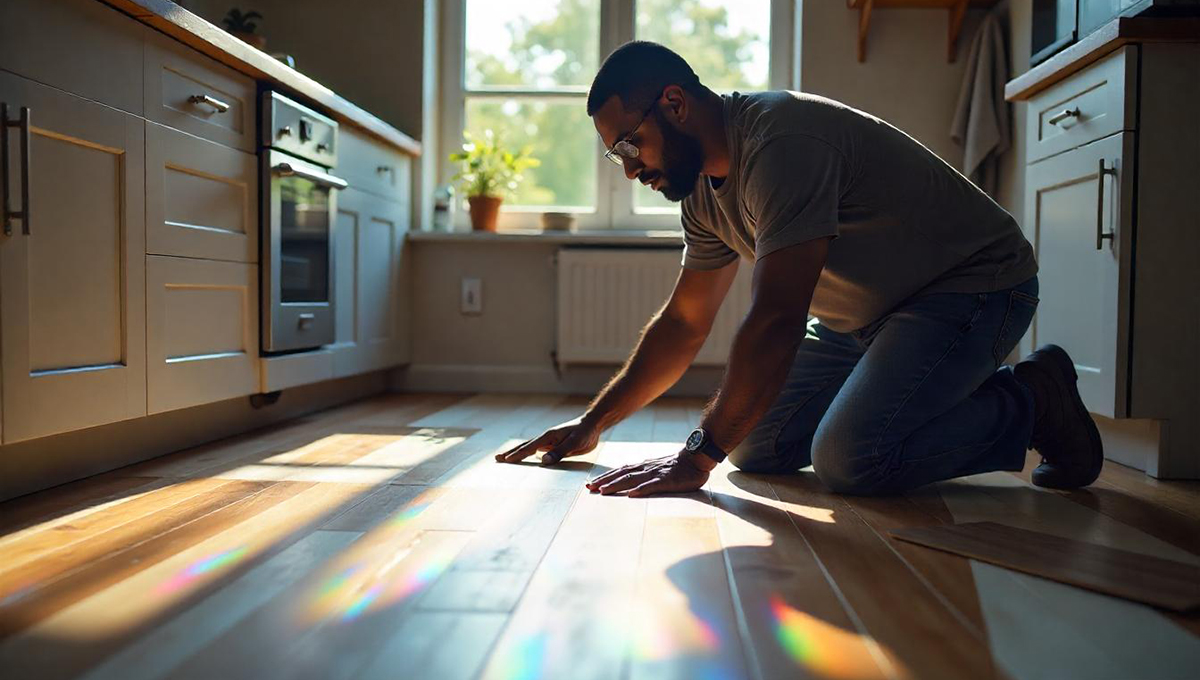
Alright, so you’ve decided it’s time to give your space a serious style upgrade, and laminate flooring is the hero of this story. Good call! It’s affordable, durable, and oh-so-chic. Plus, you get that dreamy wood look without paying a small fortune—or worrying about endless maintenance. The cherry on top? You can totally DIY this project, and I’m here to walk you through it. Ready? Let’s roll!
What You’ll Need (AKA Your Flooring Survival Kit)
Before you dive in, make sure you’re equipped like the DIY warrior you are:
- Laminate flooring planks (Of course)
- Underlay (trust me, don’t skip it)
- Spacers (they’re tiny but mighty)
- Tape measure (you’ll be measuring a lot)
- Pencil (for all those marks you’ll make—and maybe erase)
- Utility knife (sharp and handy)
- Jigsaw or laminate cutter (for those tricky angles)
- Rubber mallet (for some gentle persuasion)
- Pull bar
- Tapping block
Got it all? Great. Let’s make some flooring magic!
Step 1: Prep, Prep, Prep!
I won’t lie—prep work isn’t glamorous, but it’s the foundation (literally) of a great installation. Rip out that old carpet or vinyl, and inspect your subfloor. Is it clean? Dry? Level? Good. If not, sand down any uneven spots. Trust me, you don’t want to end up with a floor that squeaks every time you walk on it.
Hot Tip: Let your laminate planks hang out in the room for 48 hours before you get started. Yep, they need to “settle in” and adjust to the room’s temperature and humidity. Skipping this could mean warped planks, and nobody wants that drama.
Step 2: Roll Out the Underlay Like a Pro
Think of the underlay as your secret weapon. It keeps moisture away, softens your footsteps, and even helps with soundproofing. Lay it out carefully, wall to wall. No overlaps allowed! Tape those seams like a gift you’re wrapping for your future self.
Lucy’s Trick: Use a utility knife to cut the underlay neatly around edges. Make it look pro, even if it’s your first rodeo.
Step 3: Plan Your Layout (Yes, This Part Is Important)
Now, don’t just start slapping planks down willy-nilly. Take a breath, grab your tape measure, and figure out your layout. Staggering the seams is key; it makes your floor look like it was installed by a pro and adds stability. If the last row will be super skinny, trim the first row a bit to even things out.
Insider Tip: Run the planks parallel to the longest wall or the direction of the light. It’ll make your room look bigger. Go big or go home, right?
Step 4: Lay Your Planks and Feel Like a DIY Superstar
Alright, start in a corner. Use spacers to leave a small gap between the planks and the wall. Why? Because laminate needs room to expand and contract (it’s a bit moody like that). Click the planks together using the locking system. It should feel satisfying—like a perfect puzzle piece. Use your tapping block and mallet, but remember: gentle taps only. No need to Hulk-smash.
Heads-Up: Door frames can be tricky. Use a jigsaw to cut planks to fit perfectly. Take your time. This is where patience pays off.
Step 5: Keep Staggering (and Staggering…)
As you make your way across the room, keep those seams staggered. You don’t want a floor that looks like it’s lined up for a marching band. Use your pull bar for the last plank in each row. It’s a lifesaver when things get tight.
Pro Tip: Check your alignment as you go. A crooked floor is a nightmare to fix, so keep things straight from the start.
Step 6: Cut and Fit the Final Row (Almost There!)
The home stretch! Measure the gap between the wall and your last row of planks, then cut to size. Remember to leave a little space for expansion. Use the pull bar to lock that final row in place and give yourself a well-deserved high five.
Little Trick: Keep your spacers in place until you’re done. It ensures a consistent gap around the room. And yes, it’s those little details that make a big difference.
Finishing Touches: Because Details Matter
Rip out those spacers and install your trim or skirting boards to cover the gaps. Just make sure you attach them to the wall, not the floor. Laminate needs to move a little as temperatures change. Add thresholds where your laminate meets other flooring, and give everything a good sweep.
Bonus Wisdom: Mix planks from different boxes to avoid pattern repeats. Inspect each piece like a detective. Slow and steady wins this race, my friend.
And boom! Your room is transformed. Installing laminate might seem intimidating, but with a bit of patience and this trusty guide, you can totally nail it. Need extra advice or just want to share your flooring triumph? Reach out—I’d love to hear your DIY success story!